11 KiB
| layout | title | parent | nav_order |
|---|---|---|---|
| default | Face Detection | Solutions | 1 |
MediaPipe Face Detection
{: .no_toc }
Table of contents
{: .text-delta } 1. TOC {:toc}Overview
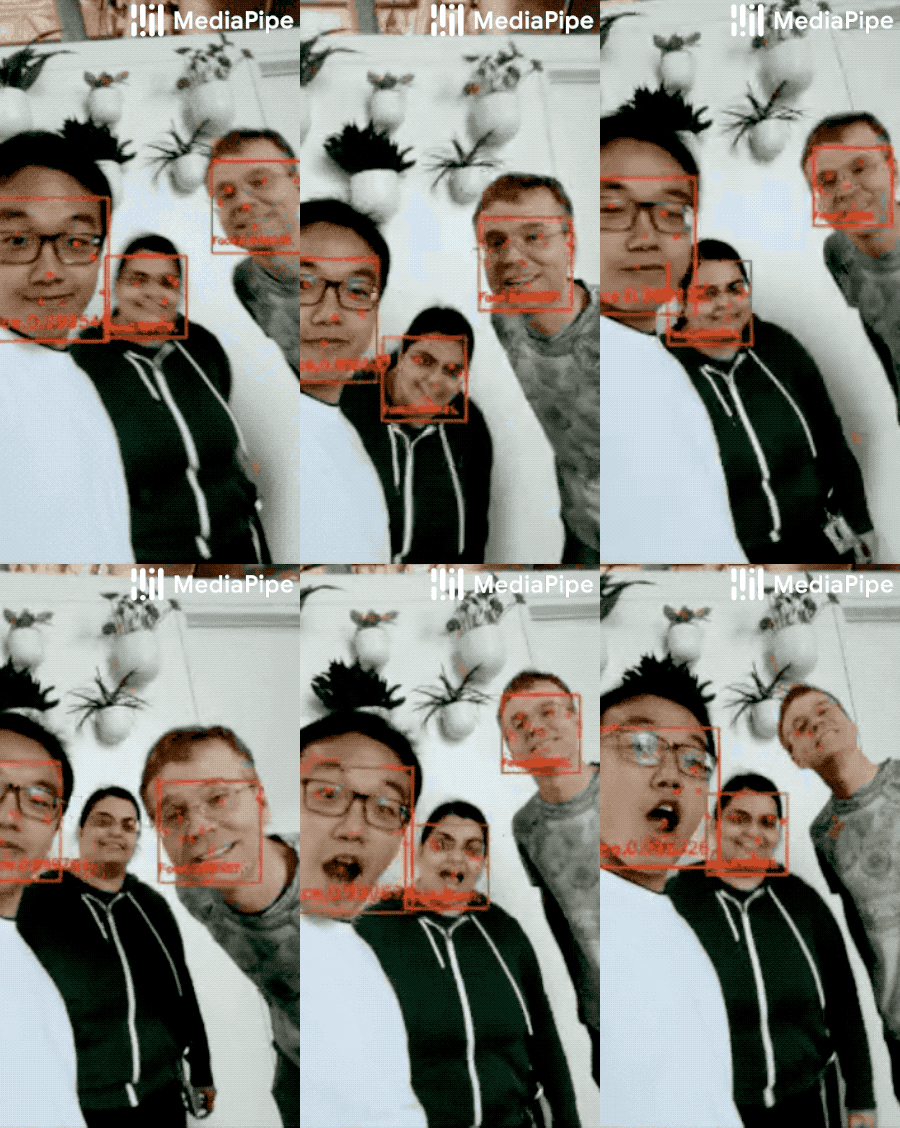
MediaPipe Face Detection is an ultrafast face detection solution that comes with 6 landmarks and multi-face support. It is based on BlazeFace, a lightweight and well-performing face detector tailored for mobile GPU inference. The detector's super-realtime performance enables it to be applied to any live viewfinder experience that requires an accurate facial region of interest as an input for other task-specific models, such as 3D facial keypoint or geometry estimation (e.g., MediaPipe Face Mesh), facial features or expression classification, and face region segmentation. BlazeFace uses a lightweight feature extraction network inspired by, but distinct from MobileNetV1/V2, a GPU-friendly anchor scheme modified from Single Shot MultiBox Detector (SSD), and an improved tie resolution strategy alternative to non-maximum suppression. For more information about BlazeFace, please see the Resources section.
Solution APIs
Configuration Options
Naming style and availability may differ slightly across platforms/languages.
min_detection_confidence
Minimum confidence value ([0.0, 1.0]) from the face detection model for the
detection to be considered successful. Default to 0.5.
Output
Naming style may differ slightly across platforms/languages.
detections
Collection of detected faces, where each face is represented as a detection
proto message that contains a bounding box and 6 key points (right eye, left
eye, nose tip, mouth center, right ear tragion, and left ear tragion). The
bounding box is composed of xmin and width (both normalized to [0.0, 1.0]
by the image width) and ymin and height (both normalized to [0.0, 1.0] by
the image height). Each key point is composed of x and y, which are
normalized to [0.0, 1.0] by the image width and height respectively.
Python Solution API
Please first follow general instructions to install MediaPipe Python package, then learn more in the companion Python Colab and the following usage example.
Supported configuration options:
import cv2
import mediapipe as mp
mp_face_detection = mp.solutions.face_detection
mp_drawing = mp.solutions.drawing_utils

# For static images:
with mp_face_detection.FaceDetection(
    min_detection_confidence=0.5) as face_detection:
  for idx, file in enumerate(file_list):
    image = cv2.imread(file)
    # Convert the BGR image to RGB and process it with MediaPipe Face Detection.
    results = face_detection.process(cv2.cvtColor(image, cv2.COLOR_BGR2RGB))

    # Draw face detections of each face.
    if not results.detections:
      continue
    annotated_image = image.copy()
    for detection in results.detections:
      print('Nose tip:')
      print(mp_face_detection.get_key_point(
          detection, mp_face_detection.FaceKeyPoint.NOSE_TIP))
      mp_drawing.draw_detection(annotated_image, detection)
    cv2.imwrite('/tmp/annotated_image' + str(idx) + '.png', annotated_image)

# For webcam input:
cap = cv2.VideoCapture(0)
with mp_face_detection.FaceDetection(
    min_detection_confidence=0.5) as face_detection:
  while cap.isOpened():
    success, image = cap.read()
    if not success:
      print("Ignoring empty camera frame.")
      # If loading a video, use 'break' instead of 'continue'.
      continue

    # Flip the image horizontally for a later selfie-view display, and convert
    # the BGR image to RGB.
    image = cv2.cvtColor(cv2.flip(image, 1), cv2.COLOR_BGR2RGB)
    # To improve performance, optionally mark the image as not writeable to
    # pass by reference.
    image.flags.writeable = False
    results = face_detection.process(image)

    # Draw the face detection annotations on the image.
    image.flags.writeable = True
    image = cv2.cvtColor(image, cv2.COLOR_RGB2BGR)
    if results.detections:
      for detection in results.detections:
        mp_drawing.draw_detection(image, detection)
    cv2.imshow('MediaPipe Face Detection', image)
    if cv2.waitKey(5) & 0xFF == 27:
      break
cap.release()
JavaScript Solution API
Please first see general introduction on MediaPipe in JavaScript, then learn more in the companion web demo and the following usage example.
Supported configuration options:
<!DOCTYPE html>
<html>
<head>
  <meta charset="utf-8">
  <script src="https://cdn.jsdelivr.net/npm/@mediapipe/camera_utils/camera_utils.js" crossorigin="anonymous"></script>
  <script src="https://cdn.jsdelivr.net/npm/@mediapipe/control_utils/control_utils.js" crossorigin="anonymous"></script>
  <script src="https://cdn.jsdelivr.net/npm/@mediapipe/drawing_utils/drawing_utils.js" crossorigin="anonymous"></script>
  <script src="https://cdn.jsdelivr.net/npm/@mediapipe/face_detection/face_detection.js" crossorigin="anonymous"></script>
</head>

<body>
  <div class="container">
    <video class="input_video"></video>
    <canvas class="output_canvas" width="1280px" height="720px"></canvas>
  </div>
</body>
</html>
<script type="module">
const videoElement = document.getElementsByClassName('input_video')[0];
const canvasElement = document.getElementsByClassName('output_canvas')[0];
const canvasCtx = canvasElement.getContext('2d');

function onResults(results) {
  // Draw the overlays.
  canvasCtx.save();
  canvasCtx.clearRect(0, 0, canvasElement.width, canvasElement.height);
  canvasCtx.drawImage(
      results.image, 0, 0, canvasElement.width, canvasElement.height);
  if (results.detections.length > 0) {
    drawingUtils.drawRectangle(
        canvasCtx, results.detections[0].boundingBox,
        {color: 'blue', lineWidth: 4, fillColor: '#00000000'});
    drawingUtils.drawLandmarks(canvasCtx, results.detections[0].landmarks, {
      color: 'red',
      radius: 5,
    });
  }
  canvasCtx.restore();
}

const faceDetection = new FaceDetection({locateFile: (file) => {
  return `https://cdn.jsdelivr.net/npm/@mediapipe/face_detection@0.0/${file}`;
}});
faceDetection.setOptions({
  minDetectionConfidence: 0.5
});
faceDetection.onResults(onResults);

const camera = new Camera(videoElement, {
  onFrame: async () => {
    await faceDetection.send({image: videoElement});
  },
  width: 1280,
  height: 720
});
camera.start();
</script>
Example Apps
Please first see general instructions for Android, iOS and desktop on how to build MediaPipe examples.
Note: To visualize a graph, copy the graph and paste it into MediaPipe Visualizer. For more information on how to visualize its associated subgraphs, please see visualizer documentation.
Mobile
GPU Pipeline
- Graph:
mediapipe/graphs/face_detection/face_detection_mobile_gpu.pbtxt - Android target:
(or download prebuilt ARM64 APK)
mediapipe/examples/android/src/java/com/google/mediapipe/apps/facedetectiongpu:facedetectiongpu - iOS target:
mediapipe/examples/ios/facedetectiongpu:FaceDetectionGpuApp
CPU Pipeline
This is very similar to the GPU pipeline except that at the beginning and the end of the pipeline it performs GPU-to-CPU and CPU-to-GPU image transfer respectively. As a result, the rest of graph, which shares the same configuration as the GPU pipeline, runs entirely on CPU.
- Graph:
mediapipe/graphs/face_detection/face_detection_mobile_cpu.pbtxt - Android target:
(or download prebuilt ARM64 APK)
mediapipe/examples/android/src/java/com/google/mediapipe/apps/facedetectioncpu:facedetectioncpu - iOS target:
mediapipe/examples/ios/facedetectioncpu:FaceDetectionCpuApp
Desktop
- Running on CPU:
- Running on GPU
Web
Please refer to these instructions.
Coral
Please refer to these instructions to cross-compile and run MediaPipe examples on the Coral Dev Board.
